3D Printing

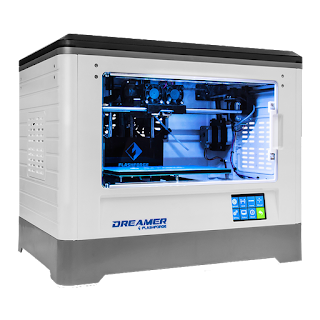
As we said , we use Solidworks application to design our parts, then we print them using the 3D printer. there's a lots of 3d printers , we used Flashforge Dreamer 3D printer using PLA (Polylactic Acid) filament , To print using this printer you should install Flashprint application and open your file with STL format in the application then you should select your setting and upload your file to the 3D Printer.

We printed half of our robot with the 3Dprinter like our wheels , box , arm , etc. and the other half of the robot (the body) is plexiglass (Poly methyl methacrylate), we used plexiglass instead of 3d printing with PLA filament because its more accurate.
Comments

Popular posts from this blog

Wheels

As u can see in the picture our wheels aren't just one , their two wheels connected to each other so our robot will have more friction on the ramps  We made a lots of wheels with different designs and at the end we made this one that is the best design in our opinion. This wheel that you can see is designed in solidworks application to find out more about it you can checkout our solidworks blog .

Victim's Separator

To separate the victims , we used a  XL-320  and a part that we printed with 3D-Printer  , we had a lots of other options to separate the victims but this was the best option in our idea. When the robot catch's the victims it detects that the victim is alive or dead using its grippers , it tests the conductivity of the victims and detects their types.

AX12 Servo Motor

  We used Ax-12 servo motor to lift up our arm and box because it will give us the power that we need to lift up and down our arm and box. It has six pins , two GND , two VDD and two data , it has two pins of each of them because this type of servo motors can connect to each other to create servomotor chains, this can be doable with Roboplus application. also its possible to read their current position , temperature , speed , torque , etc.